

Plumbing has changed a lot over the past decade. Copper pipes are no longer the only reliable option. Today, most residential and commercial projects use PEX piping because it is flexible, durable, and easier to install. However, even the best piping system depends on proper connections. That’s where a PEX Crimp Tool becomes essential.
If the crimp is weak, water leaks will follow. If the crimp is too tight, fittings may get damaged. Precision matters. In this detailed guide, we will walk through everything — how to use a PEX Crimp Tool, available sizes, calibration process, and the best brands trusted by professionals.
This blog is written in a natural, easy-to-read style so you can fully understand the tool before making a purchase.
What is a PEX Crimp Tool?
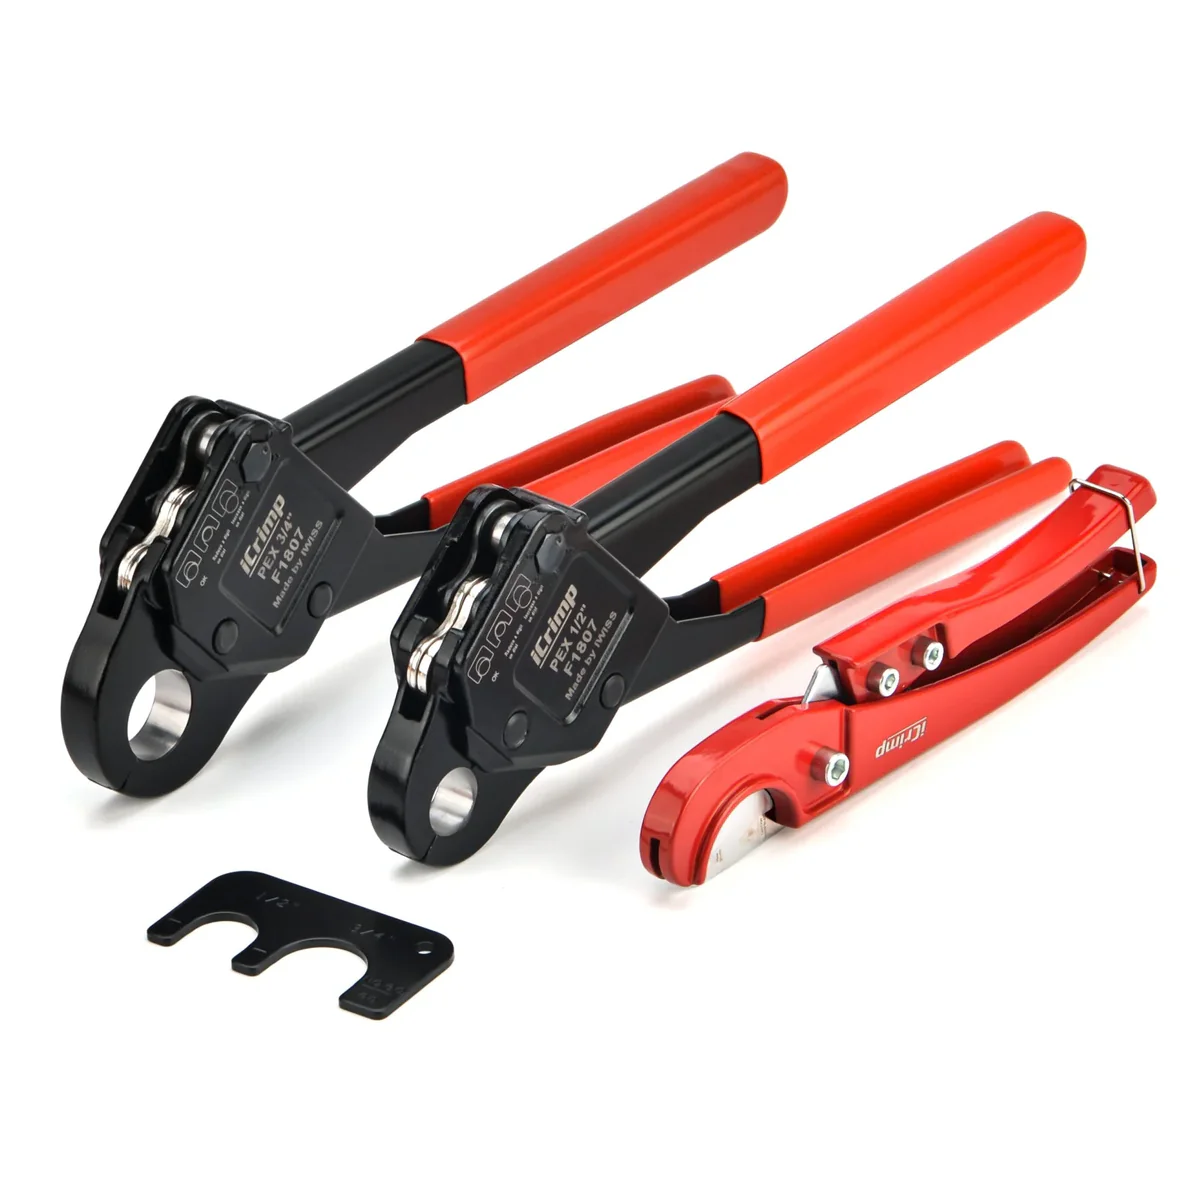
A PEX Crimp Tool is a mechanical hand tool used to secure copper crimp rings around PEX tubing and fittings. The goal is simple: create a watertight, long-lasting seal.
PEX stands for cross-linked polyethylene. It is widely used in:
- Home water supply systems
- Bathroom plumbing
- Kitchen lines
- Radiant heating systems
- Renovation projects
Unlike copper pipes, PEX does not require soldering or open flame. The crimp tool makes installation faster and safer.

Why the Right Tool Matters
A cheap or poorly calibrated PEX Crimp Tool can cause:
- Uneven compression
- Water leaks
- Failed inspections
- Expensive repairs
Professional plumbers understand that quality tools save money over time. Even for DIY homeowners, investing in a reliable crimp tool prevents future plumbing headaches.
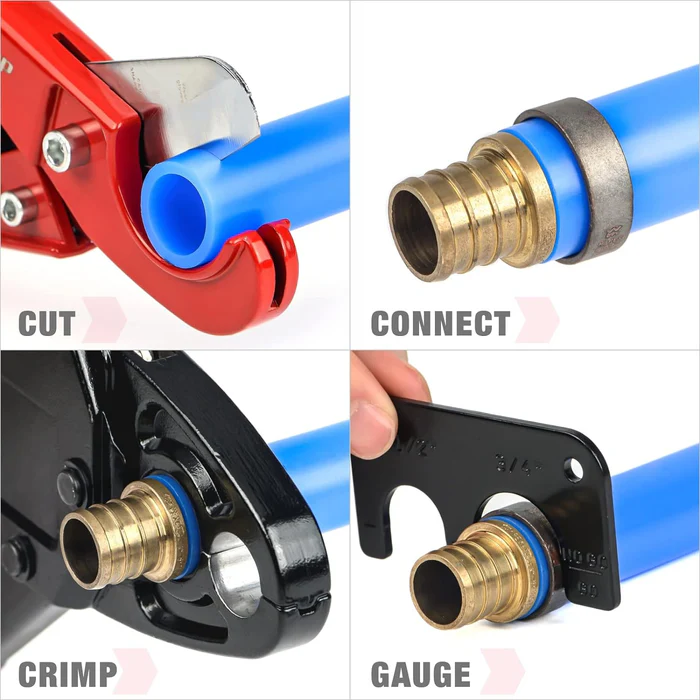
How to Use a PEX Crimp Tool (Step-by-Step Guide)
Using this tool is simple if you follow the correct process.
Step 1: Cut the Pipe Properly
Use a PEX pipe cutter to make a clean, straight cut. Crooked cuts can cause weak seals.
Step 2: Slide on the Copper Ring
Before inserting the fitting, slide the crimp ring onto the pipe.
Step 3: Insert the Fitting
Push the fitting fully into the pipe until it reaches the shoulder.
Step 4: Position the Ring
Move the copper ring about 1/8 to 1/4 inch from the pipe edge.
Step 5: Crimp the Ring
Place the PEX Crimp Tool jaws around the ring and squeeze firmly until fully compressed.
Step 6: Check with a Go/No-Go Gauge
Always test the crimp with a gauge to confirm proper compression.
Skipping the gauge test is one of the most common beginner mistakes.

Understanding PEX Sizes
Choosing the right tool depends on pipe size.
1/2 Inch PEX
- Most common residential size
- Used for sinks and showers
3/4 Inch PEX
- Used for main water supply lines
- Higher water flow
1 Inch PEX
- Used in large homes
- Suitable for high-demand systems
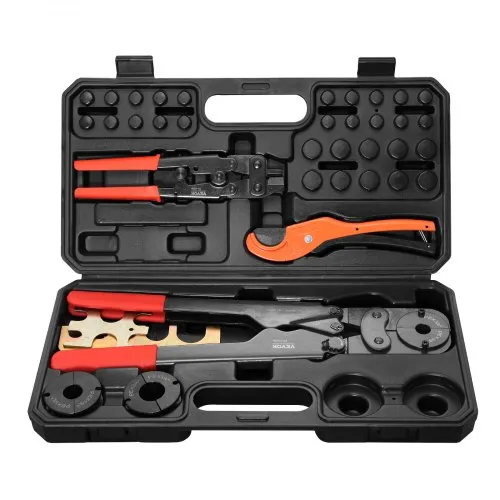
Some tools come with interchangeable jaws, allowing you to switch between sizes easily.
What is Calibration?
Calibration ensures your PEX Crimp Tool applies the correct pressure. Over time, tools can slightly shift due to wear and repeated use.
Without proper calibration, you risk:
- Under-crimping (leaks)
- Over-crimping (damaged fittings)
Regular calibration guarantees consistent performance.
How to Calibrate a PEX Crimp Tool
- Perform a test crimp.
- Use a Go/No-Go gauge to test it.
- If it fails, adjust the calibration screw slightly.
- Test again until it passes.
It’s recommended to check calibration:
- Before large projects
- After heavy use
- If inspection fails
Calibration only takes a few minutes but prevents major issues.
Best Brands Reviewed (2026)
When buying a PEX Crimp Tool, choosing a reputable brand makes a difference.
IWISS
Known for affordable multi-size kits. Popular among DIY users.
Milwaukee Tool
High-quality construction and professional durability.
Apollo
Reliable plumbing-focused brand offering solid crimp solutions.
SharkBite
Well-known plumbing brand with dependable tool options.
Each brand offers different price points depending on build quality and features.

Manual vs Ratcheting vs Hydraulic Tools
Manual Tools
- Affordable
- Suitable for small jobs
- Require more hand strength
Ratcheting Tools
- Provide consistent pressure
- Reduce fatigue
- Great for repeated use
Hydraulic Tools
- Maximum force
- Best for commercial projects
- Higher cost
Most homeowners find ratcheting tools the best balance between price and performance.
Common Mistakes to Avoid
Even experienced users make errors. Avoid these:
- Not cutting pipe straight
- Incorrect ring placement
- Skipping gauge check
- Reusing old copper rings
- Ignoring calibration
Small mistakes can lead to major water damage.
Maintenance Tips
To keep your PEX Crimp Tool in top condition:
- Clean after every use
- Store in a dry place
- Lightly oil moving parts
- Check alignment regularly
A well-maintained tool can last for many years.
Is a PEX Crimp Tool Better Than Soldering?
Compared to copper soldering:
- No open flame required
- Faster installation
- Lower skill requirement
- Safer for indoor use
PEX systems are designed for simplicity and speed.
Who Should Buy One?
A PEX Crimp Tool is ideal for:
- DIY homeowners
- Renovation specialists
- Professional plumbers
- Contractors
If you’re installing multiple fixtures or upgrading water lines, owning a tool is more cost-effective than renting.
Final Thoughts
The PEX Crimp Tool is one of the most important tools in modern plumbing. It ensures:
- Leak-free connections
- Long-lasting performance
- Safe water supply
- Code-compliant installations
For most home projects, a ratcheting multi-size crimp tool covering 1/2” and 3/4” pipes is sufficient. For heavy-duty or commercial work, hydraulic options may be better.
Choosing quality over cheap alternatives will save you time, money, and stress in the long run.
